Tutorials
Multilingual Publishing in 5 Steps
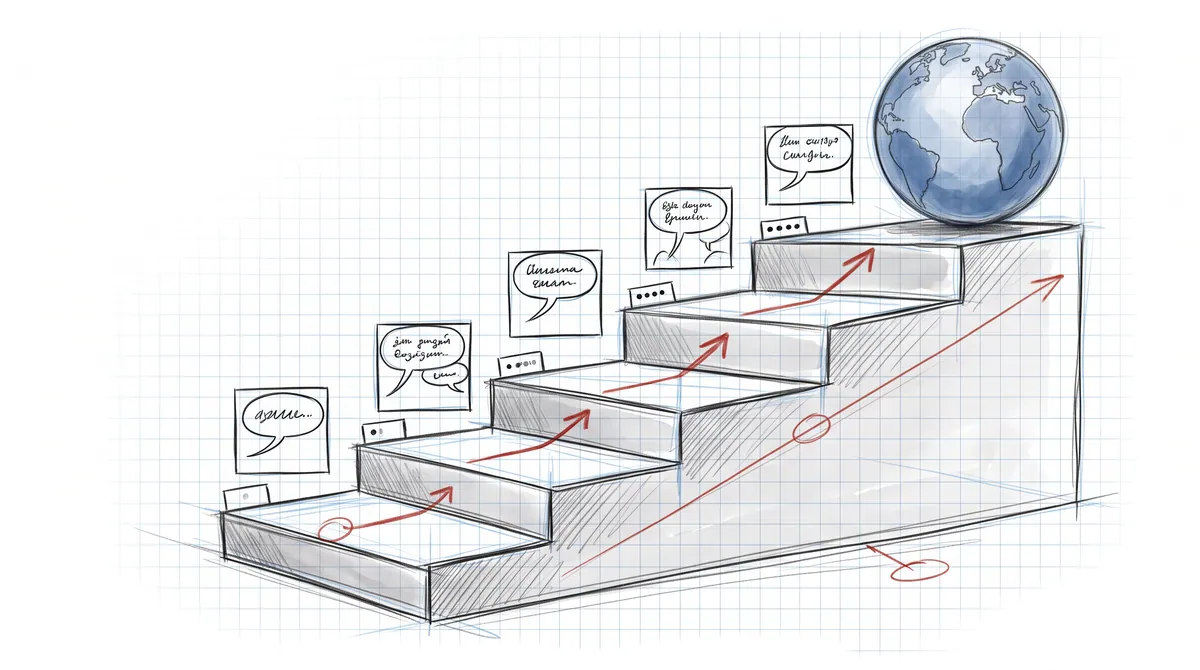
From source language to voice audio, a complete walkthrough of publishing one graphic novel in several languages with PanelWave: declare locales, extract and translate the text, exchange files with translators, localize artwork and audio, and check every language before you ship.
A graphic novel drawn once should be readable in every language its audience speaks, without re-lettering pages or maintaining five copies of the work. PanelWave is built for that: every reader-facing string in a work is stored per language, assets can carry per-language versions, and the player switches language in place, without a reload. This walkthrough takes a finished work from its source language to a second language with translated bubbles, localized art and spoken audio, in five steps. Each step links to the matching documentation page.
The whole thing rests on one model shared by the format, the player and the CMS: text is a LocalizedString keyed by BCP-47 locale, and a fallback chain guarantees that a reader never sees a blank where a translation is missing. The localization concept explains that model in a page; you do not need to read it first, but it helps to know it is there.
Step 1: Declare your languages
Languages are part of the work, not an afterthought. When you create a work the wizard asks for a default language and any additional ones; the list is grouped by region and searchable. The default language is the source everything else is translated from and the ultimate fallback. You can change the set later in the Work Properties Localization tab or with the Locales button in the workshop: add a locale by code, mark a different one as default, or remove one while keeping its translations for later (Locales and fallbacks).
Two settings live next to the locale list. Reading direction decides whether the work reads left to right or right to left, which matters the moment you add Japanese or Arabic. And the profile preference for your default editing language preselects the target locale when you open the workshop (Account). In the manifest, all of this becomes two fields in meta, locales and default_locale, documented under Meta.
Step 2: Extract the text and translate it
Open Localization from the Backstage sidebar and click Extract Strings. The workshop scans the work and pulls every translatable string into a table: speech bubble text, panel titles and descriptions, hotspot labels, and other reader-facing content. Each row gets a stable key, its source text, a category, and a Used in badge that tells you where it appears. Run extraction again whenever you add content; existing translations are kept and new strings are appended (Extracting translatable text).
Then pick a target locale from the chips under the header, which show each language's completion percentage, and translate. Click a cell to edit inline; untranslated rows are tinted, and the stat cards count total, translated and missing strings. A missing translation shows exactly what the reader would get instead, which is the fallback text in your default language (The translation editor).
For a first pass, Translate untranslated machine-translates every missing string for the locale in one go. Machine translations carry an MT badge until you confirm them with the green check or edit them. Two helpers keep a long work consistent: translation memory suggests exact and fuzzy matches from everything you have translated before, and a per-work glossary fixes preferred translations for key terms and flags rows that ignore them (Machine translation, Translation memory, Glossary).
When you later change a source line, its translations are flagged stale rather than silently left behind. The Needs review filter collects them (Stale translation detection).
Step 3: Work with a translator
Machine translation is a draft, not a release. For the real pass, hand the strings to a translator in the format they already use: the Export menu produces CSV for spreadsheet workflows, XLIFF 1.2 for CAT tools, or a plain JSON key-value map. The translator works in their own tool, and Import brings the file back into the workshop, where the rows land in the right place by key (Working with external translators).
The glossary is worth exporting alongside the strings, because it carries notes for translators as well as preferred terms. And because the workshop keeps the source text and the Used in context with every string, a translator who receives the XLIFF sees what a line is and where it appears, not just an isolated sentence.
Step 4: Localize artwork and audio
Some content is easier to localize as a file than as a string: a hand-lettered title card, a sound effect drawn into the art, a signpost. PanelWave localizes the asset variant, not the reference. An asset can carry per-language versions, and the Assets library filters by locale so you can manage them side by side. The player then picks the variant for the reader's language with the same fallback logic as text, and the panel's layers never change (Localized assets).
Spoken lines work the same way. The Audio entry in the Backstage sidebar opens Audio Localization, which lists every speech bubble per locale with stat cards for bubbles with and without audio. For each bubble you can upload a recording from a voice actor or generate text-to-speech: pick a voice from the catalogue, with gender, age, style and a preview sample, and the job runs in the background. If a character has an assigned voice, that voice is the natural default for their lines (Assigning a voice). Generated tracks can be played, replaced, or trimmed non-destructively in the waveform view (Audio Localization and text-to-speech, Localized audio).
Alt text, captions and transcripts are LocalizedStrings too, so screen-reader output and subtitles follow the reader's language like everything else. That is not a separate step; it happens when you translate the strings the extraction found.
Step 5: Check every language, then publish
Open Preview and switch the Locale control to each language. Press L to jump to the selector and 1, 2, 3 to switch device frames, because a translation that fits on a desktop frame can crowd a phone panel (Preview: locale). Listen to a few generated lines; a voice that sounded right in the catalogue can read a name oddly in context.
Then run Preflight. Its Localization category is where missing translations surface, alongside the accessibility checks for alt text and captions, so nothing ships half-translated by accident (Validation and Preflight). When the work is published, readers get the globe button in the player toolbar, which only appears when a work has more than one locale, and switching is instant: text, balloons, assets and audio re-resolve without a reload (Player localization).
What the reader never sees
The fallback chain is the quiet hero of all this. When a string is requested in a locale that lacks it, the player tries an exact match, then any entry in the same base language, then the work's default locale, then its base language, and finally the first entry available. A reader on British English gets your American English text, and a work that is eighty percent translated reads as a complete work in the default language with translated islands, never as a page of blanks. The exact order is under The fallback chain. It is also why you can publish a second language incrementally: ship the chapters you have, keep translating, and republish.
Further reading
- Localization concept: LocalizedString, BCP-47 locales, fallback chains, localized asset variants.
- CMS Localization: the workshop, machine translation, memory, glossary, translator exchange, audio.
- Player localization: runtime resolution, language switching, and the separate UI language.
- Assets in the format: where a variant's locale lives in the manifest.