Tutorials
Getting Started with PanelWave CMS
Create your first interactive graphic novel in under 30 minutes: set up a work, drop in your artwork, letter it with real comic balloons, add a choice, connect the story graph, translate it, and publish a shareable preview.
This walkthrough takes a handful of finished panel images and turns them into a small, playable interactive graphic novel: two pages, one branch, two languages, published as a preview link you can send to a friend. Every step links to the matching page in the PanelWave documentation, so you can go deeper whenever you want. If you would rather read a longer, screenshot-heavy version first, the docs have a guided tutorial: Your First Graphic Novel.
Step 1: Create a work
Everything in PanelWave lives inside a work: a self-contained project with its own chapters, assets, characters, translations and settings. On the My Works screen, click Create New Work. The four-step wizard asks for a title and URL slug (checked live for availability), your default and additional languages, the page formats you want to design for, and an age rating plus tags. Pick a starter template such as Webcomic or Branching Novel if you want sensible defaults pre-filled.
Two choices matter for this tutorial. Under Languages, pick English as default and tick German (or any second language) so we have something to translate later. Under Page Formats, select Mobile portrait and Desktop; pages are laid out separately per format, so only choose what you will actually design for. Leave Start with a first chapter ticked so the editor opens with Chapter 1 and an empty Page 1 in each format. The wizard is documented step by step under Creating a work, and every setting can be changed later in Work Properties.
Already have material? The same screen offers Import Script for a Fountain screenplay (Script Import) and Import Pages, which lets AI split finished page images into panels (Page Import). For this tutorial we build by hand, because that is the fastest way to learn the editor.
Step 2: Upload your artwork
The work opens in the editor. In the left sidebar, switch to the Assets tab and drag your panel images anywhere onto the editor; a drop zone appears. Each file shows an upload progress card, then a Processing badge while the background pipeline generates AVIF and WebP variants, a thumbnail and a responsive size ladder from 640 to 2560 pixels. You keep working while that runs, and readers later receive the best variant for their device automatically.
Two habits pay off from day one. Create a folder per chapter in the folder pane and select it before uploading, so new files are filed automatically. And give important artwork alt text through Edit Metadata; preflight validation will remind you later, and screen-reader users depend on it. The full reference, including resumable uploads for large video files and the Replace File action that swaps art without breaking references, is under Assets.
Step 3: Find your way around the editor
The editor has four zones around a central canvas: the left sidebar with Tree, Assets and Tools tabs, the canvas itself, the right inspector with Panel, Layer, Hotspot, Speech and A11y tabs, and the timeline at the bottom for animations and audio. Both sidebars and the timeline can be resized or collapsed. The header shows the breadcrumb, the save status, undo and redo, a locale switcher, and the Preview, Preflight and Publish buttons. A guided tour is on the Editor Layout page.
You never need to press save. The editor auto-saves two seconds after your last change and the badge cycles from Unsaved changes to Saved just now; Ctrl+S saves immediately if you are about to preview. Undo history covers every canvas, tree and inspector edit. Two more keys worth learning now: Ctrl+K (or Cmd+K) opens the command palette, and the question mark key opens the shortcuts overlay. The complete list is on Shortcuts.
Step 4: Lay out your first page
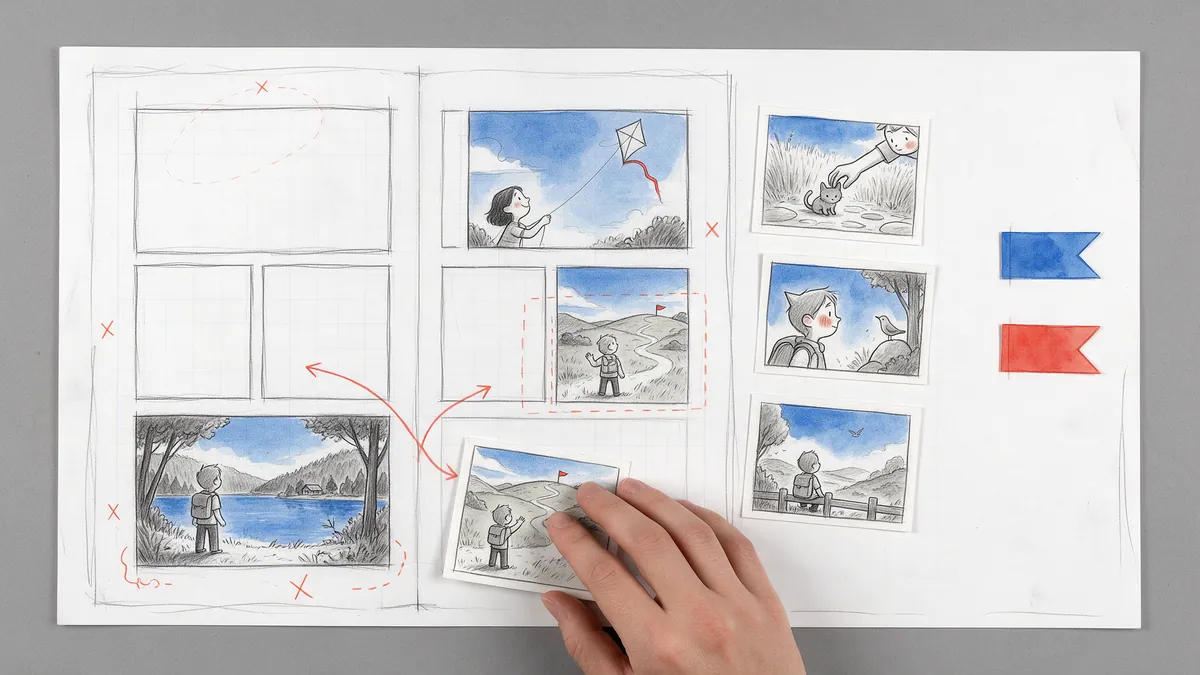
Select Page 1 in the Tree tab. The canvas switches to page view, which shows a whole page with all of its panels. Now drag your first image from the Assets tab onto empty canvas space. That single drop creates a panel, places the image as its background layer, and fits the panel to the image's aspect ratio in every page format the work supports. Repeat for two or three more images, then arrange them: drag to move, use the corner handles to resize without distortion, and let the smart guides snap edges and centers into line. With several panels selected, the right-click menu offers Align and Distribute.
Each panel gets a numbered blue badge for its reading order; drag rows in the Tree to change it. Panel positions are stored as percentages of the page, so the same layout adapts when you switch the format selector in the canvas toolbar from Desktop to Mobile portrait. Read Pages and Panels for the structure tree and page properties, and Canvas for zooming, selection, snapping and the difference between page view and panel view.
One canvas behaviour surprises newcomers: in page view, dragging a panel's edge handles does not stretch it. It crops the visible area instead, so one panel can show a different crop in each page format. Use the corner handles when you want to resize.
Step 5: Add a caption layer
Double-click a panel to enter panel view, where you edit what is inside it. A panel is a stack of layers: image, video, audio, text and plugin layers that the player composites into the final picture. Press T for the Text tool and click the canvas to add a caption; the Layer tab in the inspector controls font, size, weight, colour and alignment, plus transform, opacity and stacking order. The Layers section of the Panel tab lists everything in the panel with visibility toggles and up/down buttons for z-order. Everything about layers, including the optional Drag Reveal wipe and parallax depth, is on Layers.
Step 6: Letter it with speech bubbles
Still in panel view, press S for the Speech Bubble tool and click where the balloon should sit. A balloon appears and the inline text editor opens immediately; type the line and press Ctrl+Enter. The balloon grows and shrinks live with the text, and it is rendered by the same balloon engine the open-source player uses, so the editor shows exactly what readers get. Drag the body to move it, drag the tail tip to point at a speaker, and double-click any time to edit the text again.
The right-click Add Speech Bubble submenu lists all ten balloon types: normal, rectangle, thought, shout, whisper, connector, and the narrator and panel-top caption boxes that snap flush to the panel border. Styling works as a cascade: the work default in Work Properties, an optional per-character override, and a per-bubble override in the Balloon Style panel. Set the base style once and every bubble follows. The cascade, tail settings and lettering size per format are explained on Speech Bubbles.
Give the bubble a speaker. Open the Backstage area's Characters manager, create your two leads with a portrait and, if you like, a character balloon style, then pick them in the bubble's Speaker dropdown. The character's name appears above the bubble on the canvas, and their style applies automatically.
Step 7: Add a choice with a hotspot
Interactivity starts with a hotspot: a clickable area on a panel. On your last panel, press R and click to place a rectangle over something the reader could pick, for example a door. In the Hotspot tab, give it a label and an ARIA label, then click Add Action and choose Set Variables: add a row that sets a variable called choice to the value left. Add a second hotspot for the other door that sets choice to right. Hotspot shapes, actions, mutations and conditions are all covered on Hotspots.
Variables are your story's memory. They have a type, a default, and one of five scopes from page-level to persistent across sessions. For a decision the whole story should remember, global is the right scope. How variables are defined, changed and read in conditions is on Variables and Conditions; the underlying model is in the Variables concept.
Step 8: Connect the story in the Graph Editor
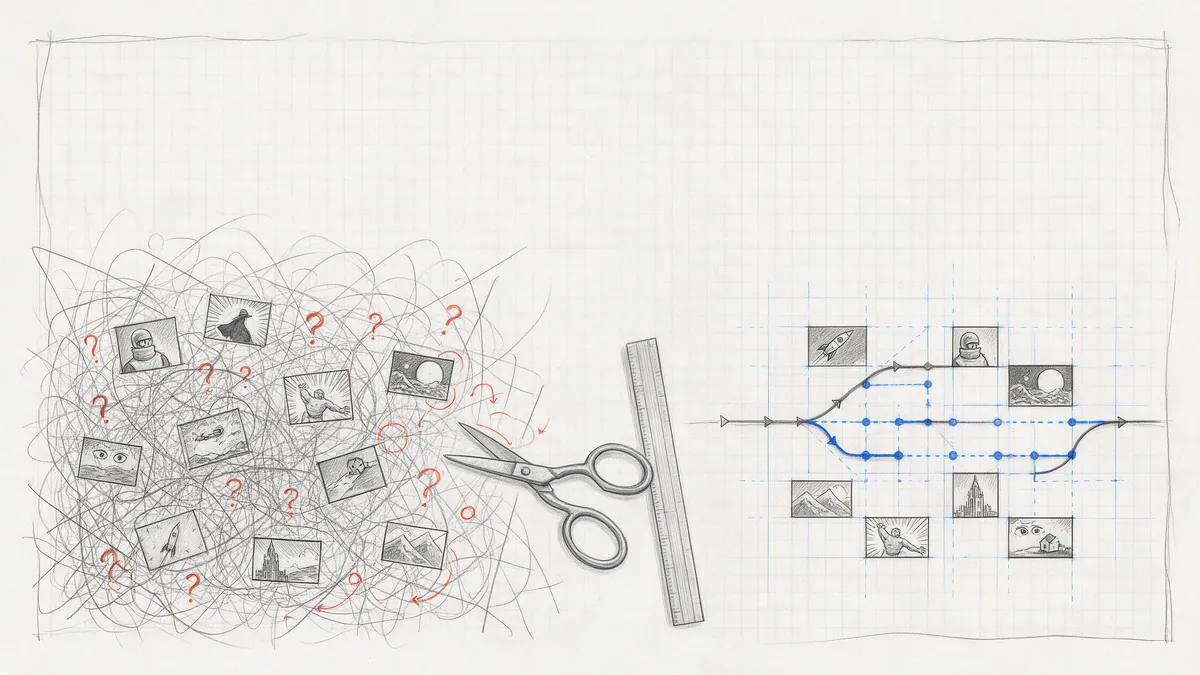
First, create Page 2 with two panels, one for each door. Then open the Graph Editor from the Backstage sidebar or the Work areas menu in the editor header. Every chapter has a flow graph: panels are nodes, edges are the arrows the player follows. The entry panel is marked green with a star, dead ends are red, and Auto-Layout (press L) tidies the map. To connect two panels, select the source, press C, pick the target with the arrow keys, and press Enter. The edge is saved immediately.
Connect your choice panel to both door panels, then select each edge and give it a condition in JSON Logic, a small rule format that reads like a question: does the variable choice equal left? The graph page shows the exact syntax under Edge conditions with copy-and-adapt examples. Conditional edges turn dashed orange. Use Simulate to walk the story with live variable values, and watch the Validation panel for unreachable panels and dead ends. If graphs are new to you, the concept page Graph Navigation explains why PanelWave uses them instead of fixed page order.
Step 9: Translate it
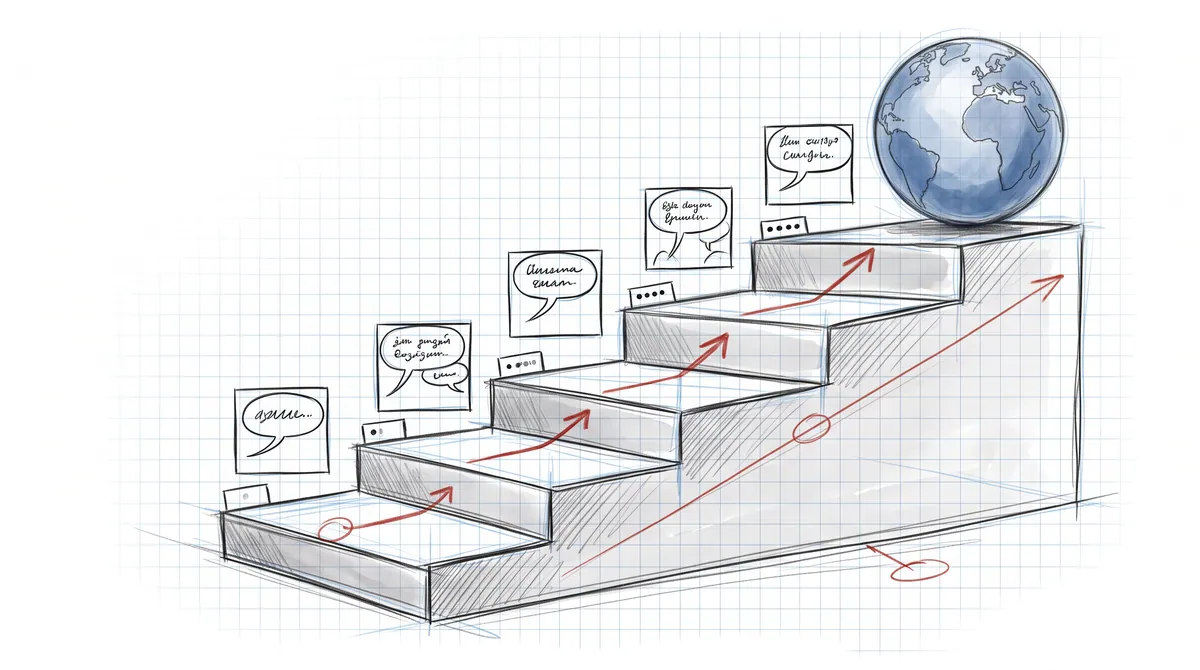
Open Localization from the Backstage sidebar. Click Extract Strings and every reader-facing text, including your bubble lines and panel titles, appears in a table with a stable key, the source text and a Used in badge. Click a translation cell to type the German line, or click Translate untranslated to machine-translate the whole locale in one pass; machine translations carry an MT badge until you confirm them. Because balloons re-measure per language, longer translations still fit. The locale switcher in the editor header lets you check each language on the canvas.
For a real project you would hand the strings to a translator: the Export menu produces CSV or XLIFF 1.2 for CAT tools, and Import brings the result back. Translation memory suggests earlier work, a glossary keeps key terms consistent, and stale detection flags translations whose source text changed. All of it is on Localization; spoken lines can be recorded or generated per language under Audio Localization.
Step 10: Preview like a reader
Click Preview Work in the editor header. The embedded player is the same open-source PanelWave Player that renders published works, so this is not an approximation. Switch device frames with the keys 1, 2 and 3, change the locale with L, and use the Variables panel to override choice to left and then right to verify both branches without clicking through the hotspots. Save the combination as a scenario if you will test it again. The controls, including simulated entitlements for paywall testing, are documented under Preview.
Step 11: Validate and publish
Click Preflight. Validation checks eight categories, from accessibility (image layers without alt text) and localization (missing translations) to flow (panels unreachable from the chapter entry), performance (oversized assets) and integrity (broken references). Errors block publishing, warnings do not. Each issue has an Open in editor link to the exact panel, and many have a Fix button; images over the publish size limit get an Optimize fix that re-encodes them in the background while your original stays untouched. See Validation and Preflight and the issue code reference.
Then click Publish. The four-step wizard runs preflight again, asks for an environment, offers a version tag and a backup, and shows live progress while it builds the manifest and uploads assets. For your first work, choose the Preview environment: it mints an unguessable, revocable link that anyone can open in a PanelWave Player without a CMS login. Send it to a friend and watch them pick a door. Every publish lands in the release history with side-by-side comparison and a rollback preview. The whole flow is on Publishing.
Where to go next
You now have a two-page, two-language, branching graphic novel and a link to prove it. From here the editor opens up in every direction:
And if you ever wonder what the CMS is writing on your behalf: it is the open PanelWave manifest, documented field by field in the schema reference. Your work is yours, in a format you can read.
- Animations and Audio: camera moves, keyframes, and a four-bus mix of ambient, music, SFX and voice on the timeline.
- Video Panels: video layers with play and start modes, loops and poster frames.
- Canvas Layout: the infinite canvas, where panels sit on one continuous plane with authored camera moves.
- Extras: covers, character sheets, bonus art and interviews inside the player toolbar.
- Monetization: paywall rules by work, chapter or panel, and the entitlement simulator.
- Export: PDF for print, PowerPoint for pitches, video for trailers, and a work archive that moves the whole project between systems.
- Analytics: the reading funnel, panel engagement and hotspot click heatmaps once readers arrive.